Most businesses have migrated online, so understanding how to effectively utilize your platforms has become part of running a business. Chief among those platforms is HubSpot.
HubSpot offers businesses so many valuable applications that can supercharge your lead interaction. However, sometimes it can be difficult to make sense of the best practices for how to manage your contacts and their interactions.
We’re here to help.
What follows is the five most useful HubSpot tech hacks that help you optimize your workflows.
1. Use Contact Filters
Using contact filters allows you to see how many contacts fit specific criteria quickly. This mitigates having to create a list and wait for it to process.
Filters load in a couple of seconds and quickly let you see how many contacts (and which contacts) fit a specific criteria.
The other way to do this is to create a list, which usually requires a couple of minutes to process.
How To Create a Saved Filter in HubSpot:
- Log into your HubSpot account and then navigate to your contacts, companies, deals, tickets, or prospects.
- Click Add filter in the left sidebar menu.
- Select the property for the filter.
- Click on the property name.
- Select the appropriate criteria for the filter.
- Click Apply filter.
To learn more, check out this helpful resource.
2. Use Queues
Using queues allows you to quickly fly through all of your HubSpot tasks. Once you’ve set this up, start your queue and HubSpot will navigate to exactly where you need to complete the task.
This allows you to streamline your contact actions, meaning you can stay focused and fly through your sales tasks in no time!
How To Set Up HubSpot Call Queues:
- Assign a Queue type to your created HubSpot tasks.
- Assign a Queue to each action.
- Then, Start Queue from the Sales Tasks page.
For more information, check out this helpful resource from HubSpot.

3. Customize Your Contact Records
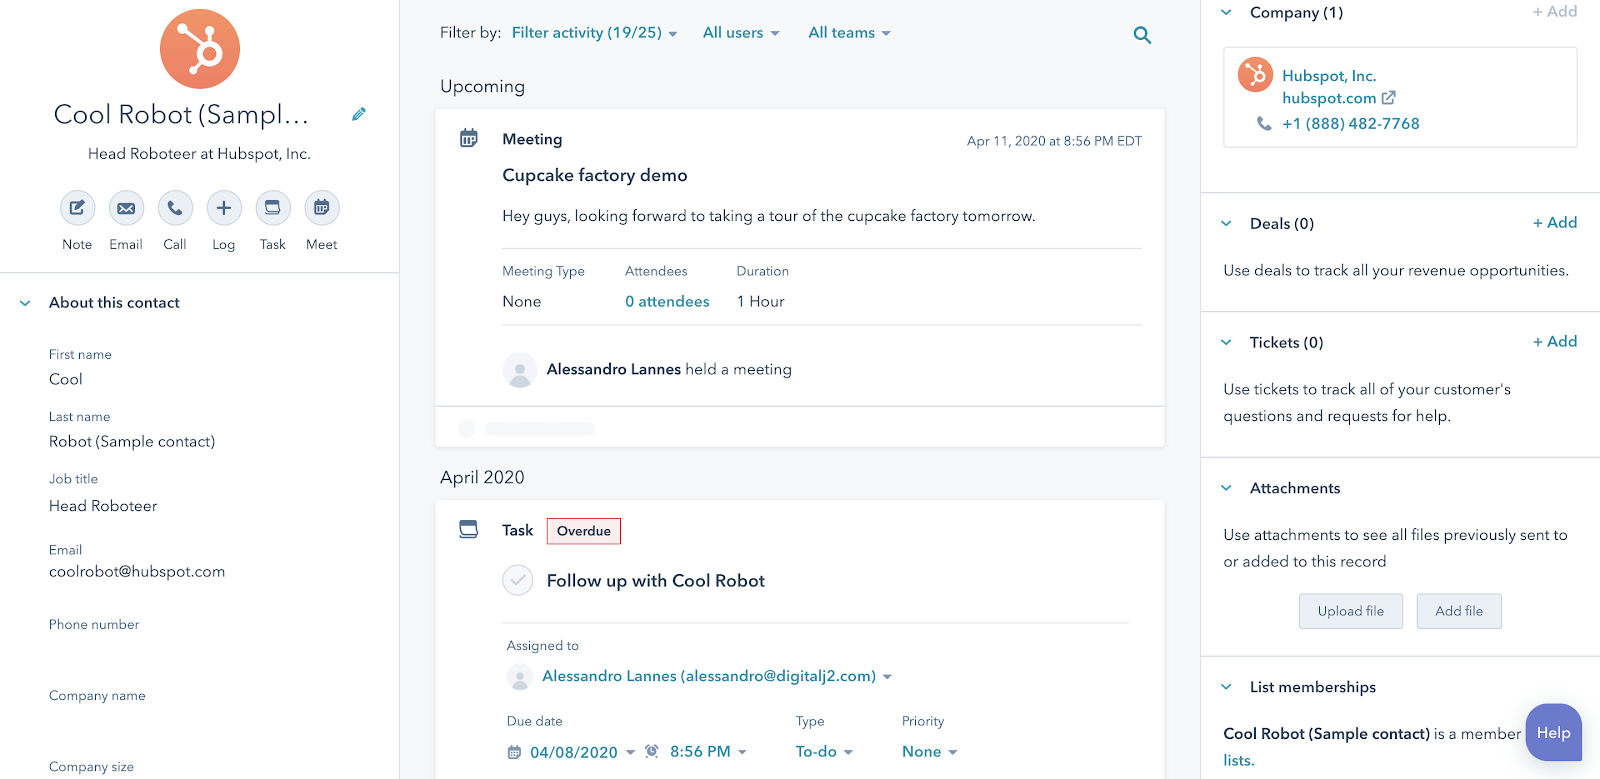
Customizing your “About this contact” section on your contact records displays the information that’s the most relevant to your business.
How To Set Up & Customize Contact Records in HubSpot:
- Navigate to Settings.
- Then Properties.
- Then the Records customization tab.
- Then, edit “Contact record left sidebar.”
Here, you can change what contact properties you want to display and in which order you want to display them. Now, all of your contacts will have your custom view on the left-hand side of the contact record:

This is a great way to better organize your contact records information. You can use this same trick for your company and deal records as well!
If you’re looking for more tips to organizing your HubSpot CRM check out our 9 Best Practices and Pro Tips blog.
4. Utilize HubSpot Notifications
Want to know when a contact has revisited your site and be notified the moment they do? To accomplish this, you want to utilize your notifications so you can know immediately when they’re on your site.
In order for this to work, you need to set up lead revisit notifications settings:
How To Set Up Lead Revisit Notifications in HubSpot:
- Log into your HubSpot account and click your account name in the top right corner.
- Then, click Profile & Preferences.
- Navigate to Notifications (left sidebar menu).
- Navigate to the Website visits section .
- Select the radio button for the leads you want to track.
- Decide your notification type.
Pretty easy, huh?
Learn more by visiting this article.
You can even integrate this with Slack and have a “HubSpot bot” slack you when a contact has revisited your site. You know that you’re on that contact’s mind and it’s a great opportunity to call them to move them further along your sales process.
This is a surefire way to increase your sales team’s productivity.
5. Utilize HubSpot’s Smart Content
Smart content allows you to display different content to contacts based on the information you have on them. It can be customized based on a number of variables, including language, device type, and where a contact is in the sales cycle.
This allows you to target a contact with messaging that best resonates with them or matches where they are in the sales process to increase your on-page conversions.
How To Add a Smart Rule To An Email Subject in HubSpot:
- Log into your HubSpot account.
- Navigate to Marketing > Email.
- Hover over your email draft.
- Click Edit.
- Click Add smart rule.
- Select the appropriate list(s) or lifecycle stage(s).
- Click Create.
How To Add a Smart Rule to Email Body:
- Log into your HubSpot account.
- Navigate to Marketing > Email.
- Hover over your email draft.
- Click Edit.
- Click the Main Email Body module.
- Then, click the Make smart icon.
- Select appropriate list membership or lifecycle stage.
- Click Create.
Learn more in this blog article.
This is a great way to keep your website visitors engaged to move them along their sales journey. If you want more tips on increasing your visitors’ website engagement, check out our blog post here.
What Have We Learned?
HubSpot is an incredible tool, but sometimes it can seem a little overwhelming. In order to accomplish your goals, it doesn’t hurt to think about some quick tech hacks to make the process a little easier.
We covered five of our favorites (and we hope you’ll take advantage of them):
- Contact filters (understand specific contact criteria quickly)
- Queues (streamline contact actions)
- Customizing contact records (understand relevant information)
- Utilizing notifications (know when your contacts are looking)
- Smart content (automate effective communication)
If you want more information on how you could better leverage your HubSpot account, read our blog post on how to do a full audit of your HubSpot account.
Hopefully, these tech hacks will allow you to better navigate HubSpot and communicate with your contacts more efficiently.


